
[ad_1]
With just 5 minutes and basic pantry ingredients, you can make the yummiest Homemade Hummus without tahini. This means that it’s nut-free, so it’s an option for school and allergy families, and it’s just perfect for dunking crackers or spreading on bread.
Hummus without Tahini
Making hummus at home can seem daunting, but it’s actually really quick and easy to make. And we can even make it without tahini, which contains sesame and is a common food allergen that many kids are unable to eat. But this creamy hummus tastes like the real thing and is a great vegetarian protein option for lunches and snacks.
(And since tahini can be a little hard to find and isn’t always an ingredient that everyone has, this makes the prospect of homemade hummus a little less intimidating.)
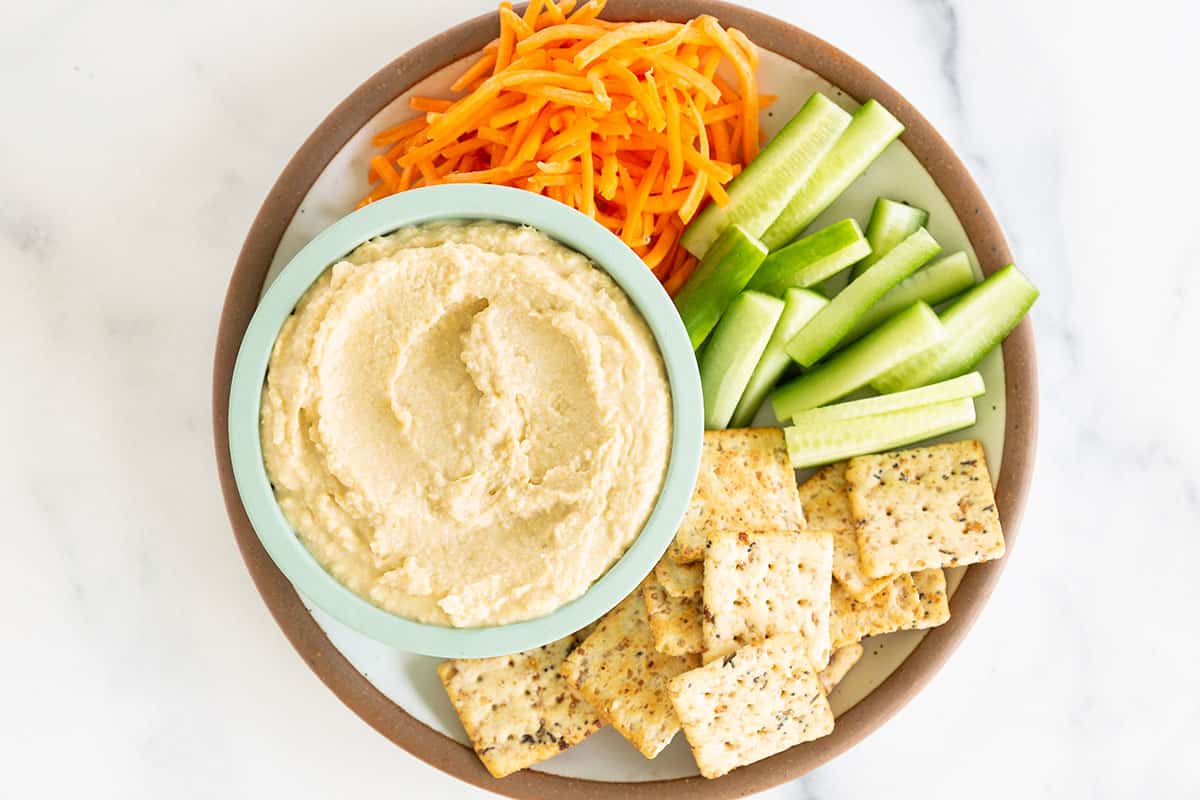
This hummus uses creamy Greek yogurt for the texture you expect from hummus and gets more flavor from lemon and cumin. It’s delicious as a dip with veggies or crackers or can be used in a Hummus Wrap or spread on toast for baby-led weaning.
(Find my Top Ten Lunch Ideas for kids for more easy options.)
Easy Hummus Recipe for Kids
My kids have always eaten hummus at preschool and daycare so when I make it at home, I try to make a version that’s similarly kid-friendly and mellow in flavor. This hummus recipe without Tahini is mild and super creamy, it works well spread on bread or a wrap, or pairs nicely with dippers like crackers and veggies.
I have garlic as an optional ingredient here, so you can add it or leave it out depending on whether you and the kids like the flavor.
Sanity-Saving Kids’ Lunch Guide
Best gear, recipes, tips, and more, delivered right to your inbox.
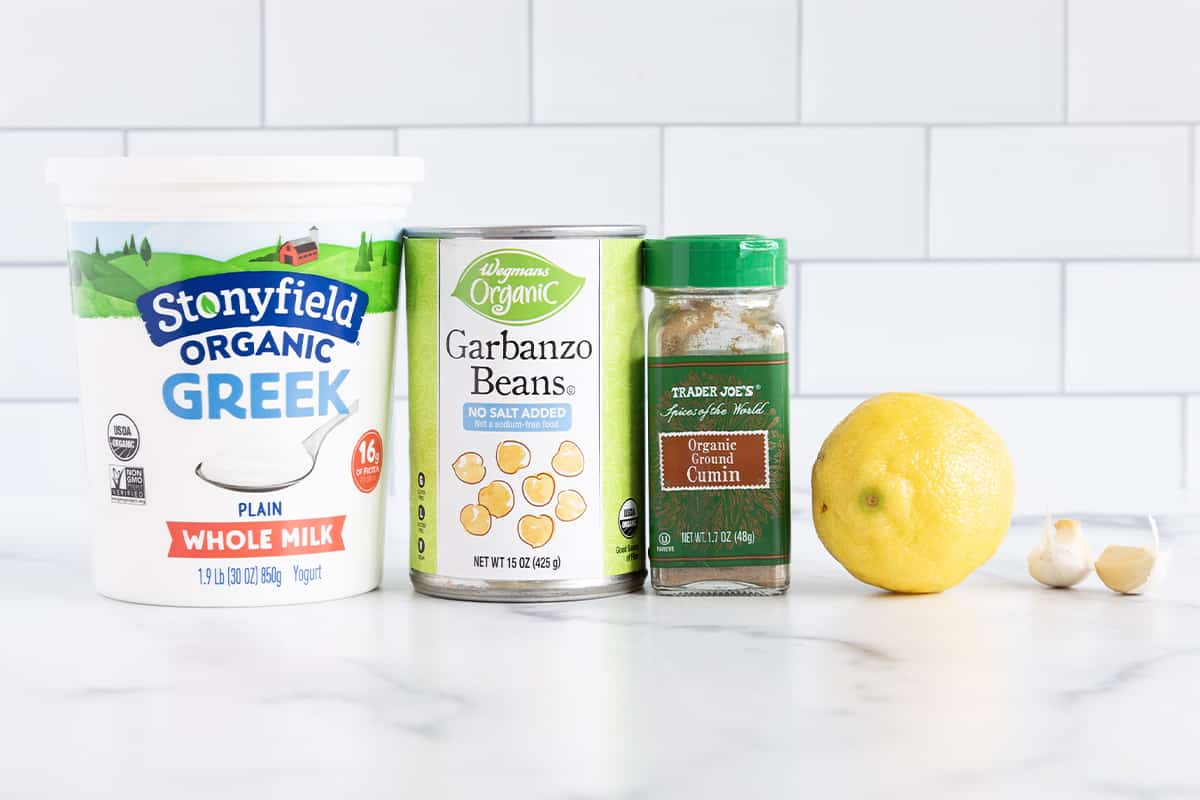
Ingredients You Need
To make this recipe you’ll need these basic ingredients:
- Chickpeas: You can use canned chickpeas, which are also commonly called garbanzo beans. Drain them into a colander and rinse with water. You can also start with cooked from dry chickpeas if you prefer. You’ll want them to be fully cooked and cooled at least slightly before you start.
- Plain Greek yogurt: I prefer to use 2% or 4% fat yogurt since I think it tastes creamier here, but any type that you have will work. You can also use regular yogurt if that’s what you have.
- Lemon: Lemon adds bright flavor that is a nice element in the hummus.
- Cumin: Cumin adds the expected hummus flavor, so we definitely want it in the mix here. I use dried ground cumin.
- Garlic, optional: I prefer to grate the garlic into the hummus with a microplane to ensure that it’s well incorporated into the mixture. You can omit it if you prefer.
Step-by-Step Instructions
Here’s a look at the simple process involved in making this hummus recipe. Scroll down to the bottom of the post for the full recipe.
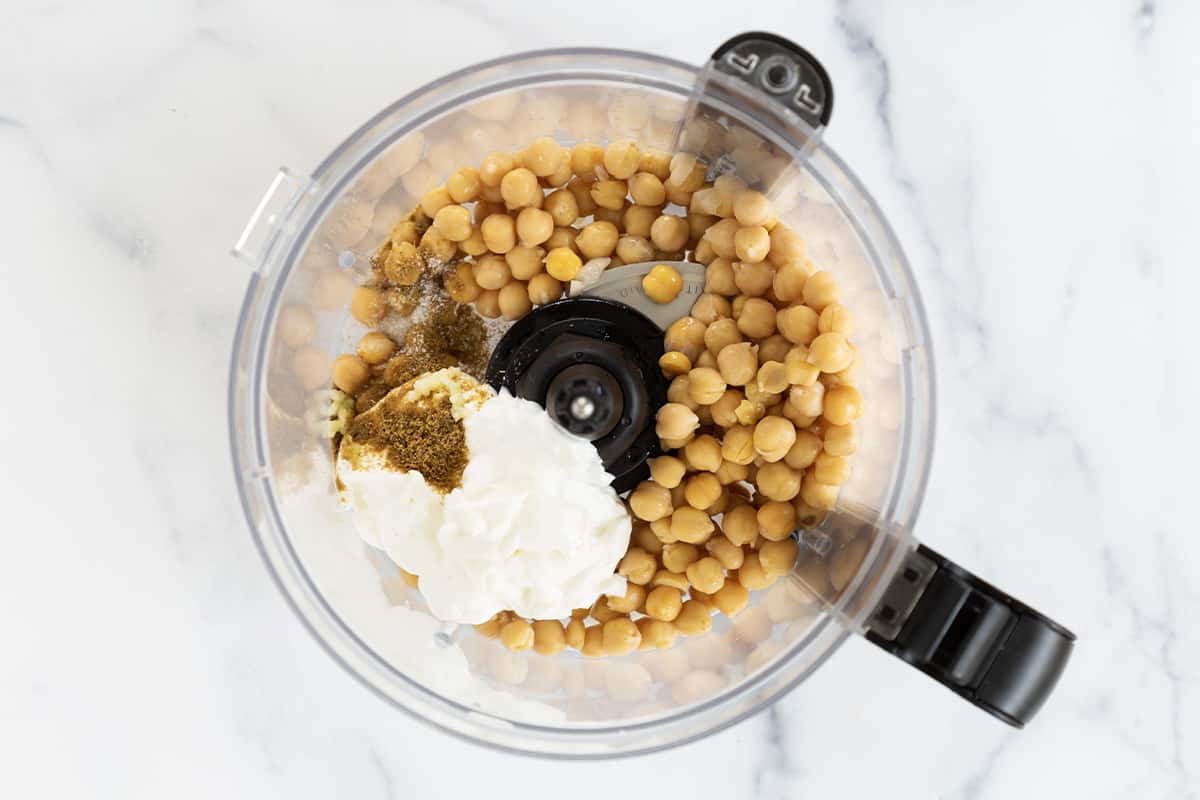
- Place all ingredients into the bowl of a food processor.
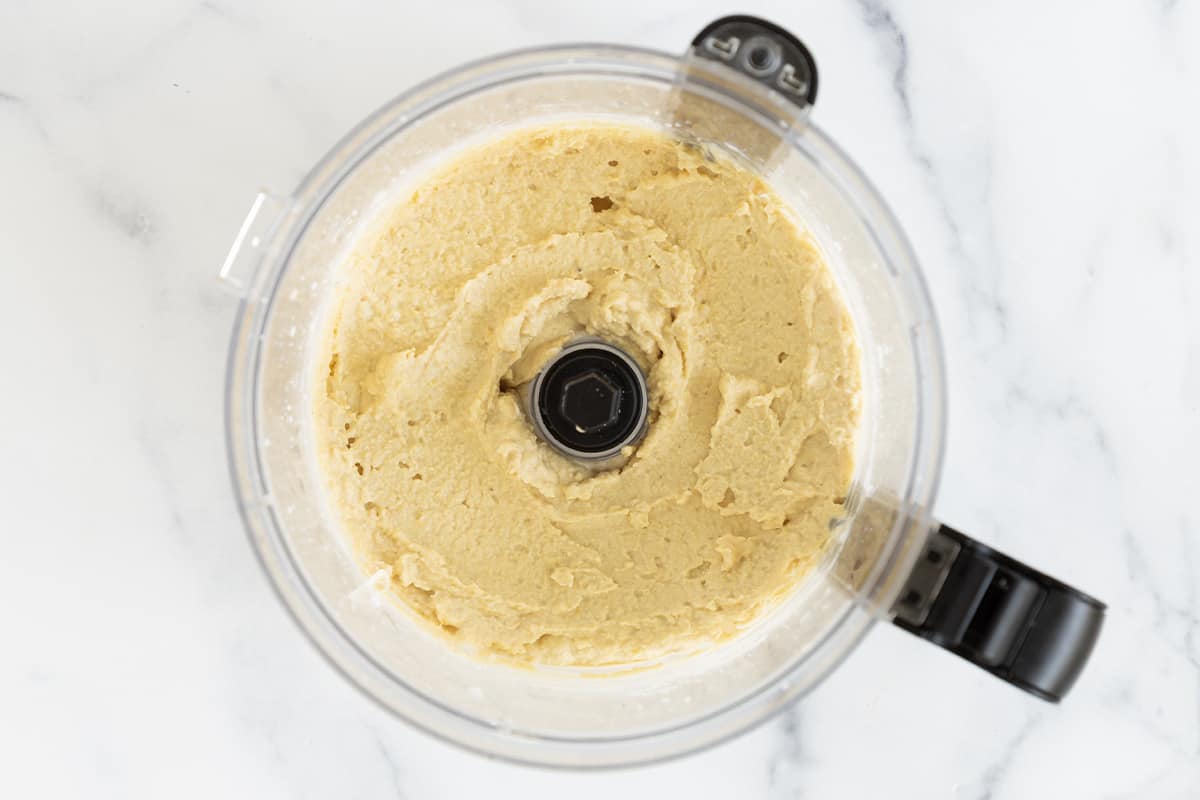
- Blend, stopping to scrape down the sides occasionally, until very smooth.
- Alternatively, you can do this in a blender for a somewhat smoother consistency, though you may need to use the stick that came with it if yours did to ensure it blends easily. The mixture is fairly thick.
Taste your finish hummus and add more salt and/or lemon juice to make the flavor to your liking.
Frequently Asked Questions
If your mixture seems thick or you have trouble blending, you can add a bit of water or a drizzle of olive oil.
It works well to use thick plain Greek yogurt to add creaminess in place of tahini. Adding cumin to the recipe also ensures that it has enough flavor.
Traditional hummus recipes usually include tahini, but if you don’t have it or need to avoid it due to a school rule or an allergy, it’s possible to make hummus without it.
You may have seen some hummus recipes tell you to peel the beans, which is of course very tie consuming. Yes, that does result in super smooth hummus, but I have yet to meet a parent of a little kid who really feels like they have that kind of time. If you do, go for it. If not? Just blend it up well and call it good! (I never ever peel them!)
How to Add Veggie to Hummus
Sure! You can add a few spoonfuls of pureed roasted sweet potato or butternut squash, a handful of baby spinach, or grated carrot. All are nice options—though they will impact the color!
How to Store
This homemade hummus recipe will store for 3-5 days in the fridge if stored in an airtight container. You can also freeze it in portions in an ice cube tray. It may separate when you thaw it out, but just stir it up vigorously. Use within 3 days once thawed from frozen.
Best Tips for Success
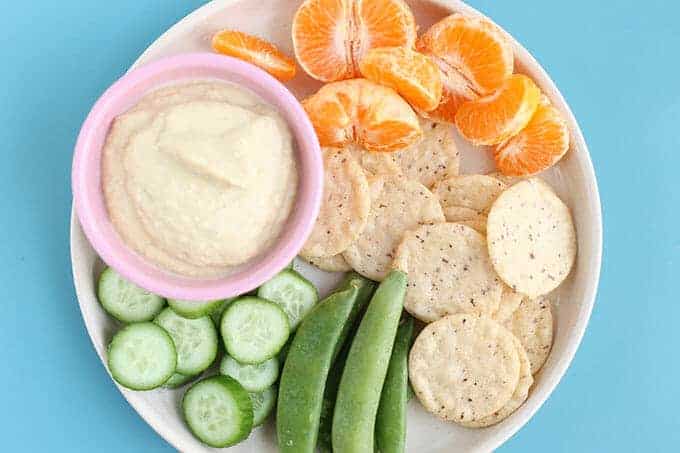
- We like this hummus spread on toast sticks or in a wrap, or as a dip for crackers, pita, and veggies like cucumbers and snap peas. I also like this thinned with a little extra lemon juice as a salad dressing!
- Omit the garlic if you’d like to have a milder flavor.
- Rinse and drain canned chickpeas to remove any excess salt.
- Stop and scrape down the sides of the food processor to ensure that all of the hummus is well blended.
- Add a drizzle of water if needed to make the hummus blend more easily if it’s seeming too thick.
- Season to taste with salt.
- Dairy-free and vegan: Use a plain unsweetened nondairy yogurt or vegan sour cream.
Related Recipes
I’d love to hear your feedback on this recipe so please comment below!
-
Place all ingredients into the bowl of a food processor. I prefer to grate the garlic, if using, into the bowl on a fine microplane to ensure that it’s evenly distributed.
-
Blend, stopping to scrape down the sides occasionally, until very smooth.
-
If your mixture seems thick or you have trouble blending, you can add a bit of water or a drizzle of olive oil.
-
Serve or store for future use. This pairs well with thinly sliced raw vegetables or crackers or can be spread onto toast or used in a sandwich or a wrap.
- Store in an airtight container in the fridge for up to a week. You can also freeze it in portions in an ice cube tray. It may separate when you thaw it out, but just stir it up vigorously. Use within 3 days once thawed from frozen.
- Use a blender for a smoother consistency. You may need to add a few tablespoons of water and/or use the stick that came with your blender (if you have one) to get it going well.
- Omit the garlic if you’d like to have a milder flavor.
- Rinse and drain canned chickpeas to remove any excess salt.
- Stop and scrape down the sides of the food processor to ensure that all of the hummus is well blended.
- Add a drizzle of water if needed to make the hummus blend more easily if it’s seeming too thick.
- Season to taste with salt.
- Use plain unsweetened nondairy yogurt or sour cream to make this dairy-free.
Calories: 97kcal, Carbohydrates: 15g, Protein: 6g, Fat: 2g, Saturated Fat: 1g, Polyunsaturated Fat: 1g, Monounsaturated Fat: 1g, Cholesterol: 1mg, Sodium: 155mg, Potassium: 159mg, Fiber: 4g, Sugar: 3g, Vitamin A: 26IU, Vitamin C: 2mg, Calcium: 45mg, Iron: 2mg
This post was first published July 2018.
[ad_2]
Source link