[ad_1]
Transform a basic sandwich into a super fun Sandwich Roll-Up with a simple method anyone can do. This works with a variety of fillings and can be served at home or packed for school lunch. It’s an easy option to have in the kids lunch mix!
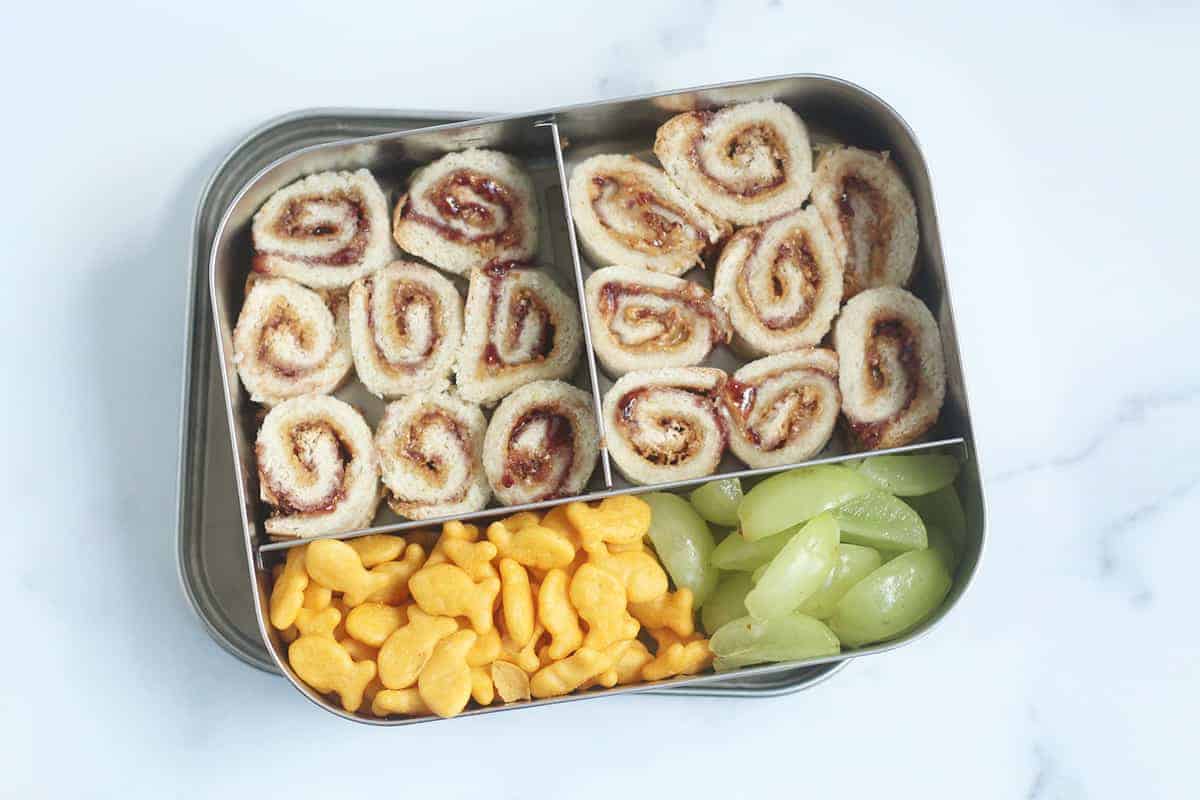
Sandwich Roll Ups
This easy kids lunch idea has long been a favorite in our house—with a variety of fillings—and I’ve found it to be a really simple way to mix up how we serve sandwiches.
There’s nothing too complicated about making sandwich roll ups, though there are a few tricks that can make the process much easier.
This works with peanut butter and jelly, sunflower seed butter and jam, hummus, turkey and cheese, or really anything thin or spreadable.
I’m going to share how to make this lunch idea and I hope it’s a helpful one to have in the mix—whether for daycare, kindergarten, or bigger kids.
And just because I think this matters: I feel strongly that we do not need to be making. cute food for our kids everyday, but if you want to do something like this on occasion to make a meal feel less expected, go for it!
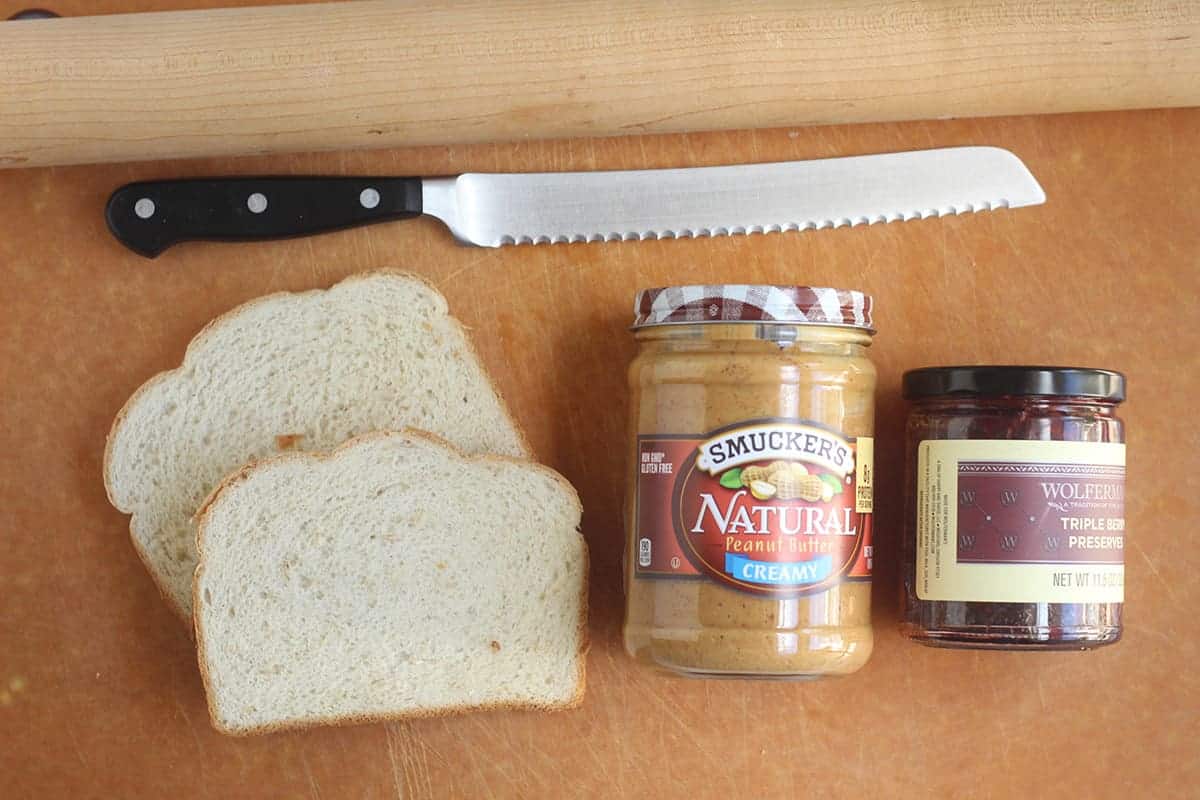
Ingredients You Need
To make this lunch you’ll need:
- Soft sandwich bread
- Peanut butter, sunflower seed butter, other nut or seed butter, or cream cheese
- Jam, jelly, or chia jam
- Rolling pin
Ingredient Substitutions
- You can swap in other filling too. Try peanut butter and jelly, sunflower seed butter and jam, apple butter, cream cheese and jam, Nutella, turkey, cheese and mustard, hummus, or any other filling or spread you like. Just keep the layers thin.
- Gluten-free: Use a soft gluten-free sandwich bread.
- Nut-free: Use sunflower seed butter or another nut-free filling option from my list above.
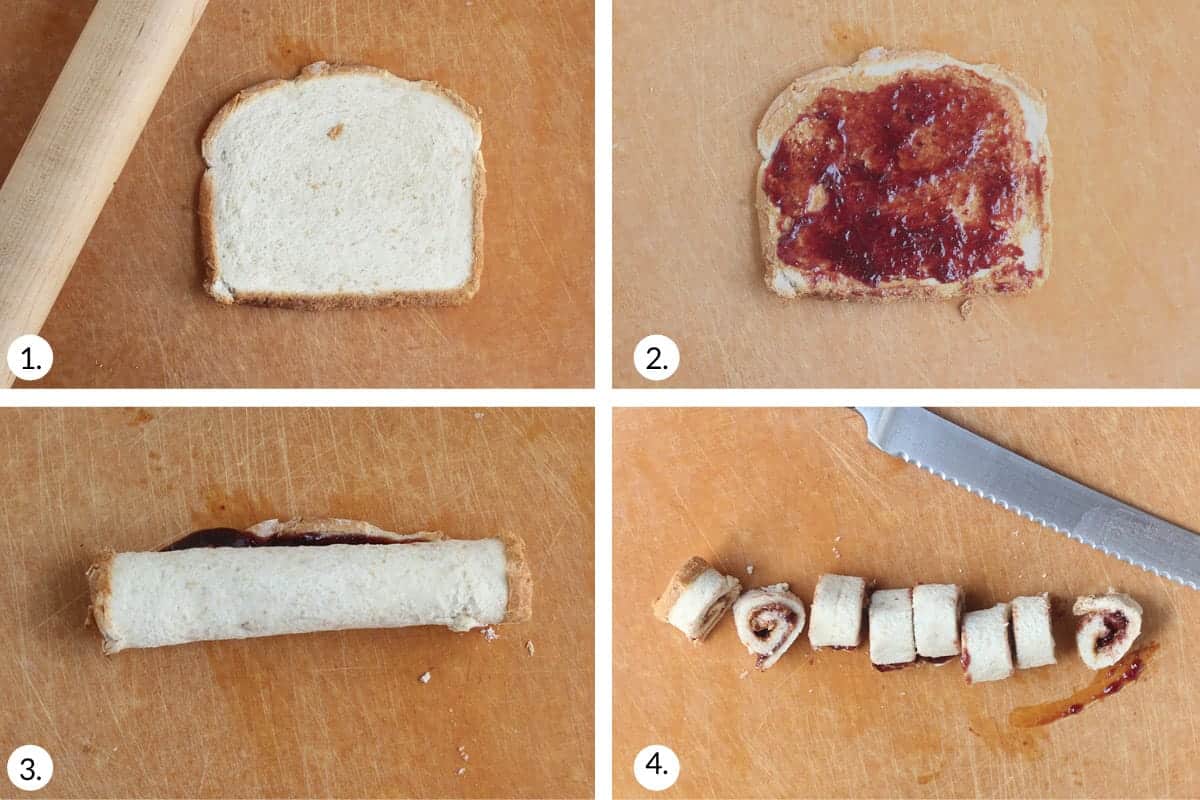
Step-by-Step Instructions
Here’s a look at how to make this sandwich pinwheel. Scroll down to the bottom of the post for the full information.
- Warm the bread slightly (optional).
- Roll flat with a rolling pin.
- Spread on the fillings in a thin layer.
- Roll up, gently but tightly.
- Slice with a serrated knife.
TIP: Warming the bread just slightly can help it flatten more easily. A serrated knife is key for easy slicing.
Frequently Asked Questions
Any soft sandwich bread will work, whether whole grain, wheat, sourdough, or white bread. This doesn’t work as well with a loaf of seedy artisan bread–sandwich bread from the store is a better bet.
You can warm it for 5-10 seconds in the microwave, which will make it easier to press flat. Then it should be easier to roll. And not spreading on too much filling can help too.
I usually leave the on since it’s easier, but you can cut them off before you start rolling if you prefer.
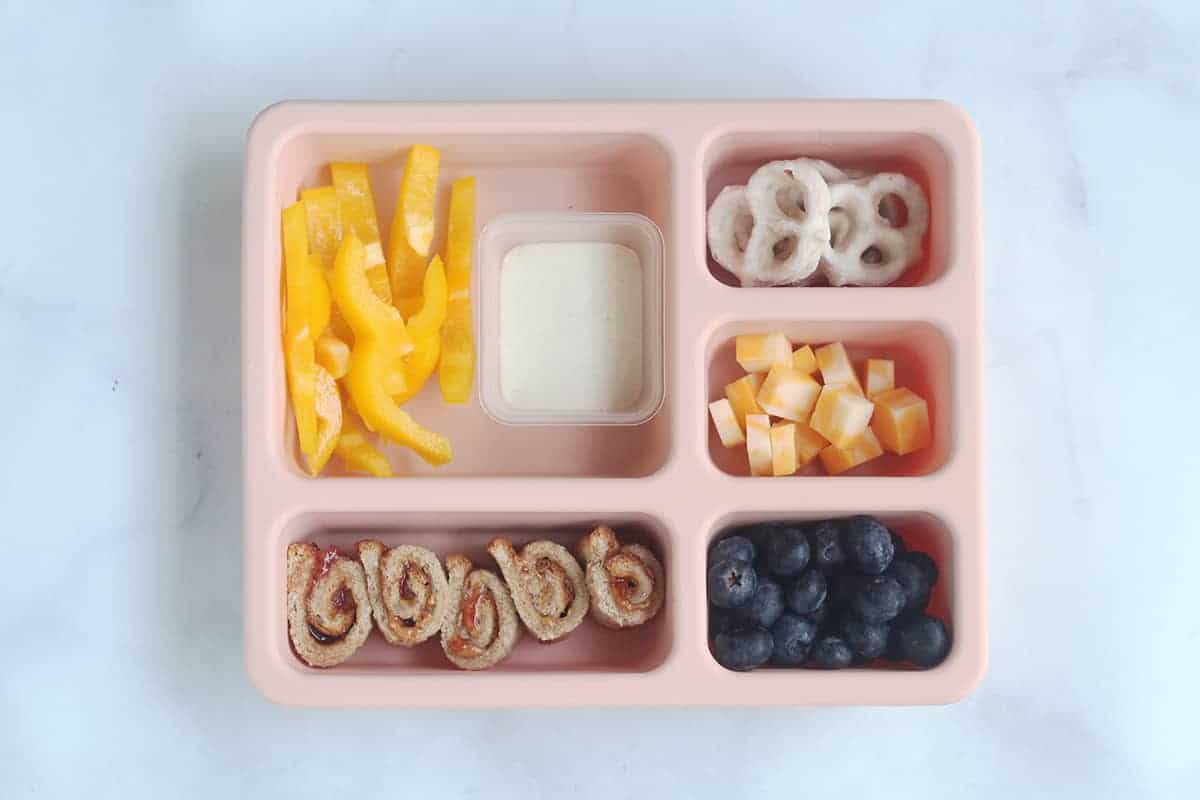
You May Also Like
How to Store
You can make these up to 24 hours ahead and store in an airtight container or lunchbox in the fridge. Pack them tightly in the container so they are nestled up against each other, which will help them hold together.
Best Tips for Success
- A soft sandwich bread works best here. A whole grain bread is fine (though this is not a great use for a hearty artisanal bread with a lot of seeds).
- Warming the bread just slightly can help it flatten more easily.
- A serrated knife is key for easy slicing.
- Try peanut butter and jelly, sunflower seed butter and jam, apple butter, cream cheese and jam, nutella, turkey, cheese and mustard, hummus, or any other filling or spread you like.
- Keep the layer of filling fairly thin so it’s easy to roll.
- I keep the crust on to save a step, though you could remove them if you prefer.
- You can make these the night before you plan to serve them and store in an airtight container or lunchbox in the fridge.
I’d love to hear your feedback on this recipe if you try it for your kids, so please comment below to share!
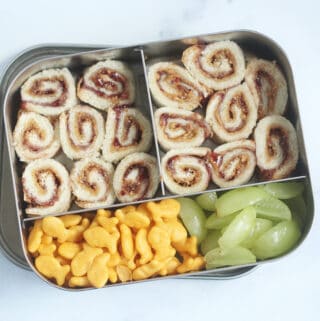
Quick Sandwich Roll Ups (2-Minute School Lunch)
Pair a soft sandwich bread with your filling of choice to make this easy toddler lunch or school lunch. You can even make them the night before.
Ingredients
- 1-2 slices soft sandwich bread (without big seeds)
- 1 tablespoon peanut butter (or sunflower seed butter, almond butter, cream cheese, or Nutella)
- 1 tablespoon jam (jelly, chia jam, or apple butter)
Instructions
-
Warm the bread for 5-10 seconds on a heat-safe plate In the microwave. (This Is optional, but Is recommended If your bread Is not super soft and at room temperature. You can also warm It longer If you’re starting with frozen bread slices.)
-
Place the bread onto a cutting board and roll very flat with a rolling pin.
-
Spread on the fillings to the edges of the bread.
-
Roll up, starting at the base of one of the long sides of the bread (the bottom of the slice). Try to make the roll tight, but roll gently to avoid pushing all of the filling out.
-
Slice gently with a serrated knife. I usually slice the rolls so they are about 1-Inch thick.
-
Serve or pack In a lunch box.
Notes
- You can make these up to 24 hours ahead and store in an airtight container or lunchbox in the fridge. Pack them tightly in the container so they are nestled up against each other, which will help them hold together.
- A soft sandwich bread works best here. A whole grain bread is fine (though this is not a great use for a hearty artisanal bread with a lot of seeds).
- Warming the bread just slightly can help it flatten more easily.
- A serrated knife is key for easy slicing.
- Try peanut butter and jelly, sunflower seed butter and jam, apple butter, cream cheese and jam, nutella, turkey, cheese and mustard, hummus, or any other filling or spread you like.
- Keep the layer of filling fairly thin so it’s easy to roll.
- I keep the crust on to save a step, though you could remove them if you prefer.
- You can make these the night before you plan to serve them and store in an airtight container or lunchbox in the fridge.
Nutrition
Calories: 219kcalCarbohydrates: 28gProtein: 8gFat: 9gSaturated Fat: 2gPolyunsaturated Fat: 2gMonounsaturated Fat: 4gSodium: 192mgPotassium: 189mgFiber: 3gSugar: 13gVitamin A: 1IUVitamin C: 2mgCalcium: 41mgIron: 1mg
[ad_2]
Source link


